Curve Considerations Pt. 2: Sewing Curves
Share
Straight seams are lovely in their simplicity - they are speedy and satisfying to sew. While sewing curved seams requires a little more patience and finesse, the soft shape that results is well worth the practice. The downtick in tempo is all about managing “the kink” - inevitable fabric bunching that occurs when we match curved edges. The good news - the kink is funky but temporary, as long as we prevent it from sneaking under our presser foot!
The technique described below uses pins to keep edges aligned and employs the Magic Tug to manage the kink. I recommend that beginners start with pins - they are simple to use and always on hand. Alternative methods, such as glue basting or not basting at all (for true baddies!) have their place, and will be covered in a later post.
One note before we begin: because curves are comprised of straight individual stitches, decreasing your stitch length to 2 will help keep your curves smooth.
S E W I N G C U R V E S
1. Fold one Template 1 piece in half along the diagonal. Finger press to create a crease that runs from the corner through the midpoint of the curve; unfold. Repeat for one Template 2 piece.

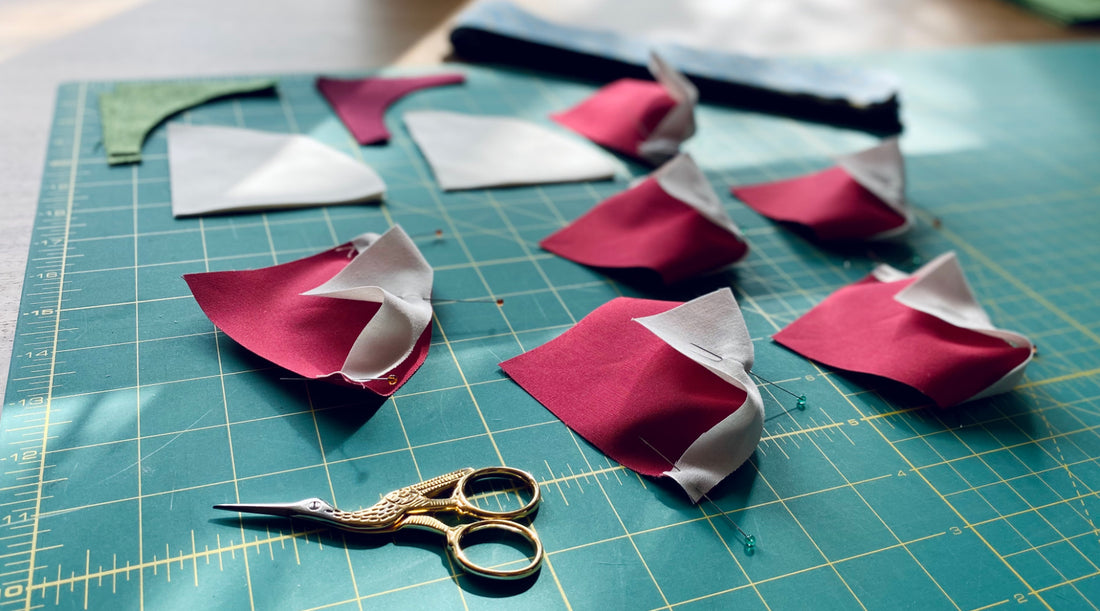
2. Place the Template 1 piece on top of the Template 2 piece with right sides together. Match the curve midpoints and align the diagonal creases. Pin at the midpoint, then at each end.

3. Sew - slowly! - along the curve with a ¼” seam allowance. Focus on the area directly in front of your presser foot - here lies your most important (and last!) point of control. Keep the top fabric taut and aligned with the bottom edge as you sew. Pause to lift the presser foot with needle down to pivot along the curve, as necessary.

T R O U B L E S H O O T I N G C U R V E S
In my experience, the most common issues with sewing curves come from bias edges, awkward geometry and speed.
Issue 1: My endpoints don’t match up!
This is why I recommend that beginners first learn to sew curves with pins: it’s nice to have a physical note of where fabric should match up, until you master the proper hand tension on your top piece.
- If your top piece is shorter than your bottom piece, make sure you are holding it taut (i.e. not slack at all) while sewing. If you’re already doing that, try stretching the top edge ever-so-slightly as you sew.
- If your top piece is longer than your bottom piece, make sure you are being gentle - hold it taut, but don’t pull on the fabric. It doesn’t take much to stretch a bias edge!
Issue 2: There’s a kink near/under my seam!
If the occasional small kink makes it underneath your presser foot, all is not lost! Wrinkles to the left of your stitch line will press out. If a kink sneaks under your stitch line, just unpick to that point and re-sew (it happens, even on straight seams!).

Not trapped under stitches - this will press out!

A small bummer - unpick and re-sew.
Issue 3: My curves are too straight!
It’s not uncommon to end up with a flat spot near the apex of the curve. By midway, you’ll settle into the align + stitch rhythm, and with comfort comes speed. But if you sew too quickly, your machine can’t track your smaller pivoting motions. The remedy? Slow down and think ‘arc’!
Also, be double-check that you’ve decreased your stitch length to 2mm. Individual stitches are straight lines - so connecting smaller lines results in a smoother curve.
Remember, a good press can work wonders - press on to Part 3!
